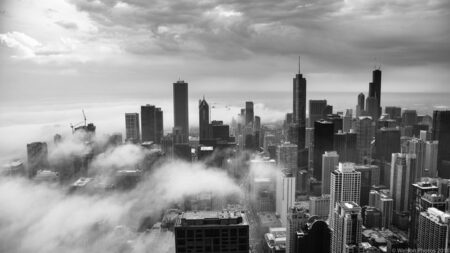
Long exposure photography is a fascinating technique that allows you to capture scenes in a way the naked eye cannot see. From dreamy waterfalls to light trails of bustling city streets, mastering long exposure can elevate your photography skills to a new level. In this article, we’ll dive into the basics of long exposure photography, the tools you’ll need, and tips to get started.
What is Long Exposure Photography?
Long exposure photography involves using a slow shutter speed to capture the passage of time in a single image. This technique is especially effective in low-light situations or when you want to add motion blur to your photos, such as:
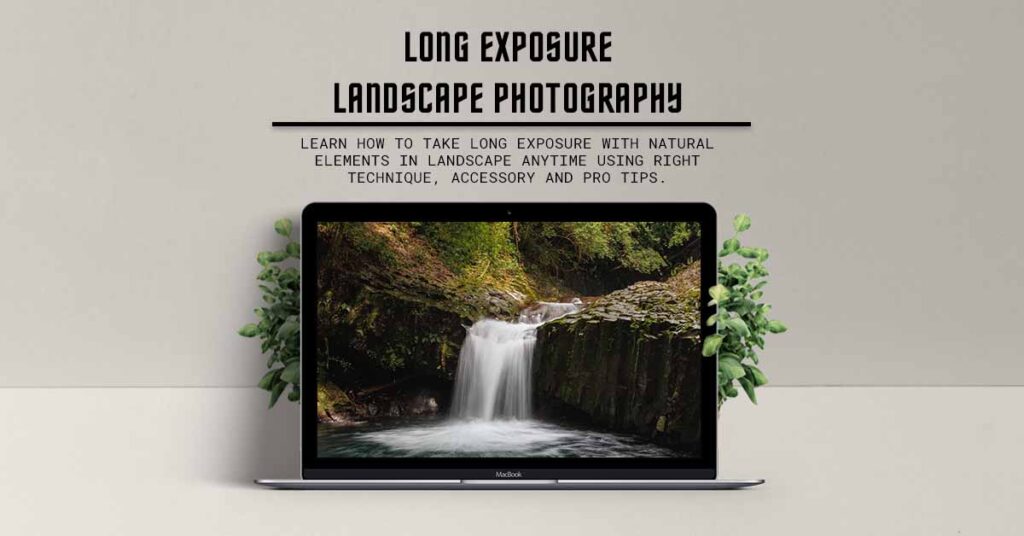
- Waterfalls and Rivers: Create a smooth, silky effect.
- Light Trails: Capture the movement of vehicles at night.
- Star Trails: Showcase the rotation of the Earth.
- Cloud Movement: Add drama and motion to your landscape shots.
Essential Equipment
To get started with long exposure photography, you’ll need the following gear:
- Camera with Manual Mode: Any DSLR or mirrorless camera that allows you to adjust shutter speed.
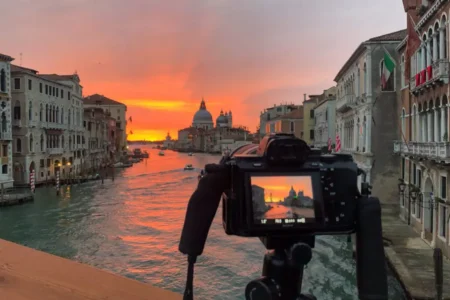
- Tripod: A sturdy tripod is crucial to avoid camera shake during long exposures.
- ND Filters: Neutral Density filters reduce the amount of light entering the lens, allowing for slower shutter speeds even in bright conditions.
- Remote Shutter Release: Minimize vibrations by triggering the shutter without touching the camera.
- Stopwatch or Timer: Useful for exposures longer than 30 seconds if your camera doesn’t have a built-in timer.
Step-by-Step Guide to Long Exposure Photography
- Choose Your Scene: Look for moving elements like water, clouds, or lights to emphasize the long exposure effect.
- Set Up Your Camera:
- Mount your camera on a tripod.
- Switch to manual mode (M) or shutter priority mode (S/TV).
- Adjust Settings:
- Shutter Speed: Start with 1-30 seconds depending on the desired effect.
- Aperture: Use a smaller aperture (higher f-number) to maintain sharpness and reduce light.
- ISO: Keep it as low as possible (e.g., ISO 100) to reduce noise.
- Use Filters if Necessary: Attach an ND filter for daytime long exposures.
- Compose Your Shot: Frame your scene and ensure your focus is locked.
- Take the Shot: Use a remote shutter or timer to capture the image without shaking the camera.
Tips for Stunning Long Exposure Photos
- Plan Your Shoot: Check weather conditions, golden hour timings, and location accessibility.
- Experiment with Shutter Speeds: Test different speeds to see how motion blur affects your image.
- Keep an Eye on the Histogram: Ensure your photo is properly exposed by reviewing the histogram after each shot.
- Post-Processing: Enhance your images using editing software to adjust brightness, contrast, and color.
Common Mistakes to Avoid
- Camera Shake: Always use a tripod and remote shutter release.
- Overexposure: Use ND filters to balance bright lighting conditions.
- Blurry Focus: Double-check your focus before taking the shot, especially in low light.
Long exposure photography is both challenging and rewarding, offering endless creative possibilities. With practice, patience, and the right tools, you can transform everyday scenes into works of art. Whether you’re capturing the serene flow of water or the chaotic energy of a city at night, long exposure can help you see the world in a new light.
Ready to give it a try? Grab your gear and start experimenting with this captivating technique today!

