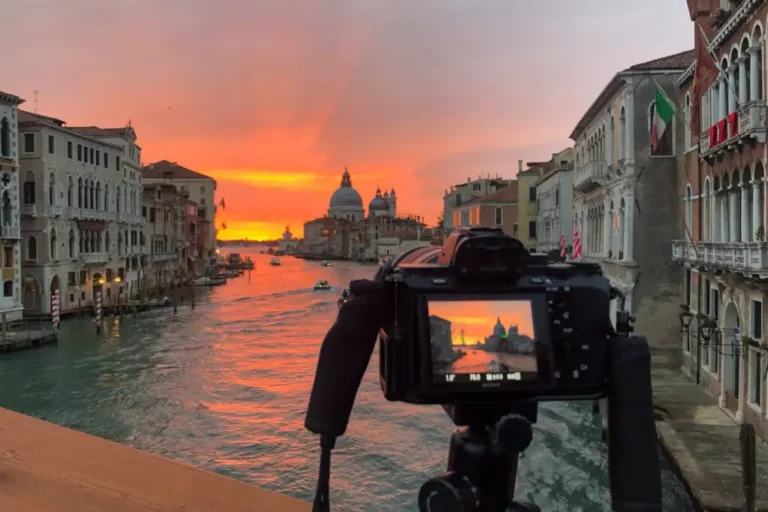
Photography is both an art and a science, requiring a blend of creativity and technical skill to capture compelling images. Whether you’re a beginner or an experienced photographer, mastering fundamental techniques can significantly improve your shots. In this article, we’ll explore key photography techniques to enhance your skills and elevate your photography.
1. Understanding Exposure: The Exposure Triangle
The exposure of an image is determined by three key settings:
• Aperture (f-stop): Controls the amount of light entering the lens and affects depth of field. A low f-number (e.g., f/2.8) creates a blurred background, while a high f-number (e.g., f/11) keeps more of the image in focus.
• Shutter Speed: Determines how long the sensor is exposed to light. Fast shutter speeds (1/1000s) freeze motion, while slow shutter speeds (1s or longer) create motion blur.
• ISO: Adjusts the sensor’s sensitivity to light. A lower ISO (100-200) produces cleaner images, while a higher ISO (800-3200) is useful in low light but introduces noise.

Balancing these three elements helps achieve the right exposure for different lighting conditions.
2. Composition: Creating Visually Engaging Photos
Composition refers to how elements are arranged within the frame. Some key compositional techniques include:
• Rule of Thirds: Divide your frame into a 3×3 grid and place key subjects along the lines or intersections to create a balanced image.
• Leading Lines: Use natural lines (roads, fences, rivers) to guide the viewer’s eye toward the subject.
• Framing: Use objects in the foreground (doorways, trees, windows) to create a frame within the frame, adding depth.
• Negative Space: Leaving empty space around the subject can create a minimalist and impactful composition.

3. Mastering Focus and Depth of Field
• Shallow Depth of Field: Achieved with a wide aperture (f/1.8 – f/2.8), this isolates the subject by blurring the background, great for portraits.
• Deep Depth of Field: Using a narrow aperture (f/8 – f/16) keeps more elements in focus, ideal for landscapes.
• Manual vs. Autofocus: While autofocus is fast and accurate, manual focus is useful in low-light conditions or when precision is needed.
4. Using Light to Your Advantage
Light plays a crucial role in photography, and different lighting conditions affect your images in unique ways:
• Golden Hour: The hour after sunrise and before sunset provides soft, warm light that enhances textures and colors.
• Blue Hour: The time just before sunrise or after sunset, offering cool, moody tones.
• Hard vs. Soft Light: Direct sunlight creates harsh shadows, while cloudy skies or diffused light produce softer, more flattering light.
• Backlighting: Placing the light source behind your subject can create dramatic silhouettes or a glowing effect.
5. Motion and Stability: Capturing Sharp or Creative Blurred Shots
• Tripod Use: Essential for long exposures, night photography, and eliminating camera shake.
• Panning Technique: Follow a moving subject with a slow shutter speed to blur the background while keeping the subject in focus.
• Long Exposure: Use slow shutter speeds to capture motion effects, such as smooth waterfalls or light trails.
6. Post-Processing for Enhancement
Editing is an essential part of modern photography. Software like Adobe Lightroom or Photoshop can help:
• Adjust exposure, contrast, and colors.
• Crop and straighten images for better composition.
• Remove distractions or unwanted elements.
• Enhance details and sharpness without over-processing.

Final Thoughts
Mastering photography takes time, practice, and creativity. By understanding exposure, composition, focus, lighting, and motion techniques, you can take your images to the next level. Keep experimenting, learning, and refining your skills to develop your unique style.
What’s your favorite photography technique? Let me know in the comments!
