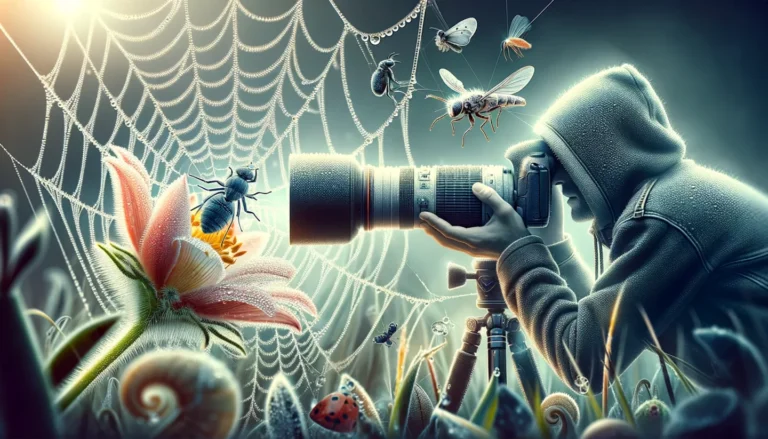
Macro photography offers a fascinating way to explore the world in detail, revealing textures, patterns, and structures that are often overlooked by the naked eye. Whether you want to capture the intricate details of a flower petal, the delicate wings of a butterfly, or the texture of an everyday object, macro photography opens a new realm of creative possibilities.
What is Macro Photography?
Macro photography refers to close-up photography, typically of very small subjects, in which the size of the subject in the photograph is greater than or equal to its actual size. True macro photography involves a 1:1 magnification ratio, meaning that the subject appears on the camera sensor at the same size as it is in real life.
Essential Gear for Macro Photography
1. Macro Lenses
A dedicated macro lens is the best tool for achieving high-quality macro shots. These lenses are designed to focus very close to the subject and provide true 1:1 magnification.
• Recommended Lenses:
• Canon EF 100mm f/2.8L Macro IS USM
• Nikon AF-S VR Micro-NIKKOR 105mm f/2.8G IF-ED
• Sony FE 90mm f/2.8 Macro G OSS
2. Extension Tubes
If you don’t have a macro lens, extension tubes are a budget-friendly alternative. These are hollow tubes that fit between your camera and standard lens, allowing the lens to focus closer than its normal minimum focusing distance.
3. Tripod
Stability is crucial in macro photography, as even the slightest movement can result in a blurry image. A sturdy tripod helps keep your camera steady for sharp shots.
4. Lighting Equipment
Proper lighting enhances the details in macro photography. You can use:
• Ring lights: These attach around the lens, providing even illumination.
• External flashes with diffusers: To soften the light and avoid harsh shadows.
Camera Settings for Macro Photography
1. Aperture (f/stop)
• A smaller aperture (higher f-number) increases depth of field, which is crucial for keeping more of your subject in focus. Start with an aperture between f/8 and f/16.
• However, too small an aperture can cause diffraction, reducing sharpness, so find the right balance based on your subject.
2. Shutter Speed
• Since macro photography often involves shooting handheld or dealing with tiny movements, a fast shutter speed is recommended. If using a tripod, slower shutter speeds can be used with proper stability.
3. ISO
• Keep ISO as low as possible (ISO 100 or 200) to reduce noise and maintain image quality. Increase it only if you need a faster shutter speed in low-light conditions.
4. Focus Mode
• Manual focus is often preferred in macro photography, as autofocus can struggle to lock onto small subjects at close distances.
• Use focus peaking (if available) to ensure your subject is sharp.
Composition Tips for Macro Photography
1. Fill the Frame
Get close enough so that your subject fills most of the frame. This helps eliminate distractions and emphasizes the details you want to showcase.
2. Rule of Thirds
Position your subject off-center to create a more dynamic and interesting composition. Use grid lines on your camera to guide your framing.
3. Background Matters
A clean, uncluttered background ensures that your subject stands out. You can use a wide aperture (low f-number) to blur the background or physically move the subject to a more neutral environment.
4. Watch for Reflections
When shooting reflective surfaces like water droplets or insects with shiny bodies, be mindful of unwanted reflections. Adjust your angle or use a diffuser to control the light.
Common Challenges and How to Overcome Them
1. Shallow Depth of Field
The closer you get to your subject, the shallower the depth of field becomes. To counter this, use a smaller aperture or try focus stacking (taking multiple shots at different focus points and merging them in post-processing).
2. Subject Movement
Small subjects like insects or flowers in the wind can move unpredictably. Use a faster shutter speed, and in outdoor conditions, try shooting early in the morning when the wind is calm, and insects are less active.
3. Camera Shake
Even a slight shake can ruin a macro shot. Use a tripod or, if shooting handheld, enable image stabilization and shoot in bursts to increase the chance of getting a sharp image.
Post-Processing Tips for Macro Photography
1. Sharpening
Apply sharpening to enhance the fine details in your macro shots. Be careful not to overdo it, as excessive sharpening can introduce artifacts.
2. Noise Reduction
If you had to increase ISO due to low light, use noise reduction tools in post-processing software like Adobe Lightroom or Photoshop.
3. Focus Stacking
If you took multiple shots with different focus points, use focus stacking software to blend them into one image with a greater depth of field.
• Recommended software:
• Adobe Photoshop
• Helicon Focus
Creative Ideas for Macro Photography
1. Abstract Macro
Capture extreme close-ups of everyday objects, turning them into abstract works of art. Look for textures, patterns, and colors that stand out.
2. Water Droplet Photography
Add interest to your photos by incorporating water droplets. You can spray a fine mist onto leaves, flowers, or even glass surfaces for a stunning effect.
3. Miniature Worlds
Create imaginative scenes by placing small figurines in real-world environments, such as a tiny figure “walking” on a flower petal.
Macro photography allows you to discover and showcase the beauty of the tiny world around us. With the right gear, camera settings, and techniques, you can capture stunning images that reveal intricate details invisible to the naked eye. Whether you’re photographing insects, flowers, or textures, macro photography offers endless creative opportunities. Grab your camera, get close, and start exploring!
